If you have an Elastic Email subscription and would like to use it to send emails from your WordPress site, then in that case you would need to use an SMTP service and that’s where Fluent SMTP comes into play, which is available for free in the WordPress plugins repository.
You can also use a trial account of Elastic email to configure it with Fluent SMTP and test out the integration if you don’t want to purchase a subscription initially, but for sending regular emails and emails in bulk you would need to purchase an Email API plan from Elastic email.
If need professional help or guidance regarding setting up an SMTP connection then you can hire us here and we will set up the SMTP connection for you or provide any guidance as needed.
Steps to configure Elastic Email with Fluent SMTP
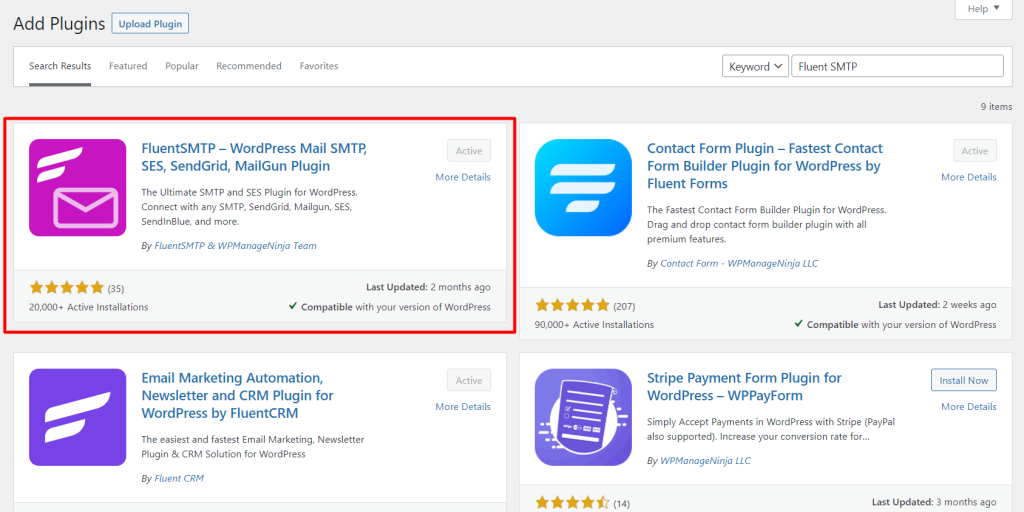
1. Install Fluent SMTP
You just need to go to Add Plugin and search for Fluent SMTP. This is a free plugin with a lot of nice features that are not available for free in any other SMTP plugins. Some of the notable features are – Adding Multiple SMTP connections, Email Log and Email resend features.
2. Configure Elastic Email SMTP
In your Elastic Email dashboard, you would see an option called Connect to SMTP API, click on that link, and it will open up a page.

If you created an SMTP Credential before you would see it here, otherwise, you will see a button to create a new SMTP Credential. Once you click this button, it will ask you to enter a username that should be a valid email.

After, clicking on Create, it will automatically generate a password for you, that you should save for future use. You will also find the SMTP host (smtp.elasticemail.com) and SMTP Port (2525) that you will need in the next step.

Then go to the Fluent SMTP settings on your WordPress site and click on Add New Connection, Select Other SMTP from the list of Connection providers.
Enter the From Email that should be the same email that you have used for your Elastic Email account. Enter a From Name that can be anything that you wish.
Here are the other configuration details –
SMTP Host: smtp.elasticemail.com
SMTP Port: 2525
Use Auto TLS: Optional, (but we recommend keeping it turned on)
Require Authentication: Yes
SMTP Username: The username (email address) that you used for creating the SMTP Credential in Elastic Email.
SMTP Password: The password that was generated in the previous step after creating the Credential in Elastic Email.

After entering all the information, click the Save Connection Settings. To test out the SMTP connection, you can send a test email from Fluent SMTP. Just select the Email test option from the top menu and send an email to any email address that you want. You will receive a test email in your inbox confirming that the SMTP is connection is working.
Fluent SMTP is a plugin developed by a company called WPManageNinja and this plugin is available completely for free. If you liked Fluent SMTP, then feel free to check out the other two popular plugins under the same ecosystem – Fluent Forms and FluentCRM.
If need professional help or guidance regarding setting up an SMTP connection then you can hire us here and we will set up the SMTP connection for you or provide any guidance as needed.
If you find this guide useful then feel free to leave a comment below. Thank you!